
Creating a Provider is the first step in your journey from scheduling-novice to platform pro and scheduling-hero. Every reservation, form, message template, and key setting relates to a Provider in one way or another. But before we get into the technicalities of how to configure Providers, let’s answer the question, “What is a Provider?”
At the highest level, Providers are entities that offer booking or bookable services. For example, if the Marketplace is Ford, then each Provider would be a Ford dealership location. Providers are often different businesses, locations, departments, or rooms that have unique booking needs within an organization.
When it comes to addressing your businesses unique scheduling needs, the possibilities are endless. That’s the advantage of choosing a flexible, white label scheduling platform. So think of the Provider as your base layer.
Let’s get started!
Create a New Provider
- From the Dashboard > Configuration > Providers > New Provider

Fill out the Basic Info. You can add most of this information at a later time, but at a minimum will need:
- Name
- Timezone
- Subdomain
When choosing your subdomain, keep in mind that it will show as provider_name.markeetplace_name.com in your URL bar. This gives each Provider a unique URL, allowing you to create a dedicated link for each Provider on the fly.

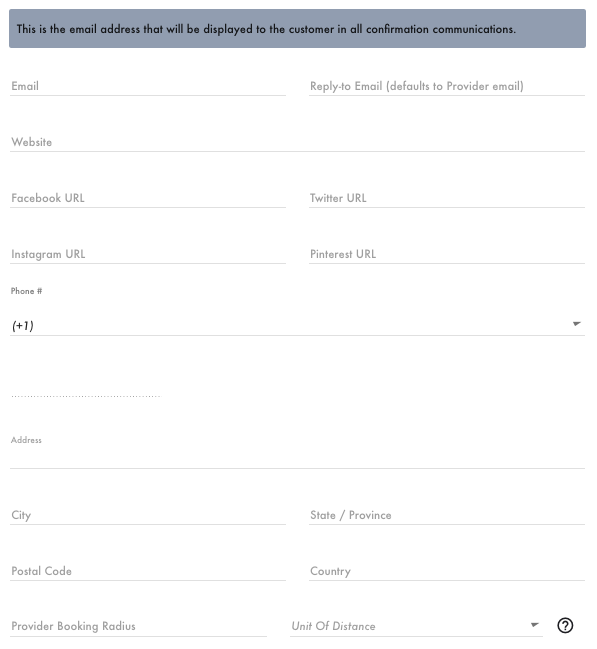
Contact Info
Contact details to the Provider are stored under the Contact Info and can interact with the Notification sender settings and Marketplace Search feature.
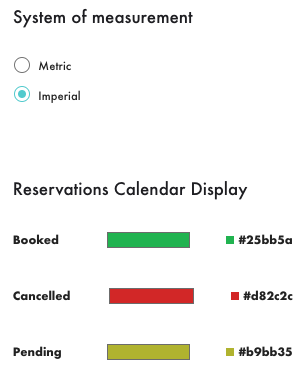
Preferences
- System of Measurement option can affect the distance calculation if Travel Fees are applied.
- Reservations Calendar Display color options allow users to apply unique color schemes to bookings showing on the Reservation Calendar under the Activity tab.
Booking Site*
*Booking Site settings for Providers are enabled through Marketplace Settings by Admin-level users.
Providers can attach a logo or cover image, add settings not available by default on the Booking Site, order Bookables, and alter the default wording shown to end users on the Booking Site.

Integrations, Pricing and Notifications
- Add a Google Tag Manager Container ID
- Add a webhook URL to share reservation data with bookings made on the Provider
- Connect a Stripe account to process payments for bookings
- Provider-wide notification settings